
TODAYWe will be looking at using Photoshop or Illustrator in creating our assets. AfterEffects is similar to InDesign in the way that no image is created in the program, just imported.
THE ACTION SAFE ZONE
Creating a new composition 0:00:05:00 (5 seconds) long. PAL D1/DV Widescreen.


The reason for the Action Safe Zone is a legacy from the flat-screen TV where there is a curvature near the edge of the screen. It just ensured that everything would fit onto the screen.


---
IMPORTING FILES - FOOTAGE
Saving files as .psd allows for any transparency to be maintained when working in AfterEffects. It is important to create artwork to the exact size it needs to be, as enlarging will pixelate the file exactly like it design for web or print.
text.psd is a solid layer without a background.
File > Import > File ⌘I
When importing files, it is incredibly important to select the type of file. 'Footage' will only take up one layer.


Keep everything together in one folder: AfterEffects, Illustrator & Photoshop files - the lot. Aftereffects works in the same way as InDesign by working on links. If they are not there, the animation will not work! If you drag a layer onto the timeline, it will automatically be centred to the frame.


---
IMPORTING FILES - COMPOSITION
shatter.psd is divided into layers, for animation purposes in AfterEffects. When importing layered files into AfterEffects, it is vital to use the 'Composition' as the file type option in the drop down list, for these layers to show up on the import. There can be as many compositions in one project as possible.


Double Clicking the composition opens it up. Each layer is separate and therefore can all be edited differently. The background can be deleted, as with any other layer, to show the AfterEffects backdrop.
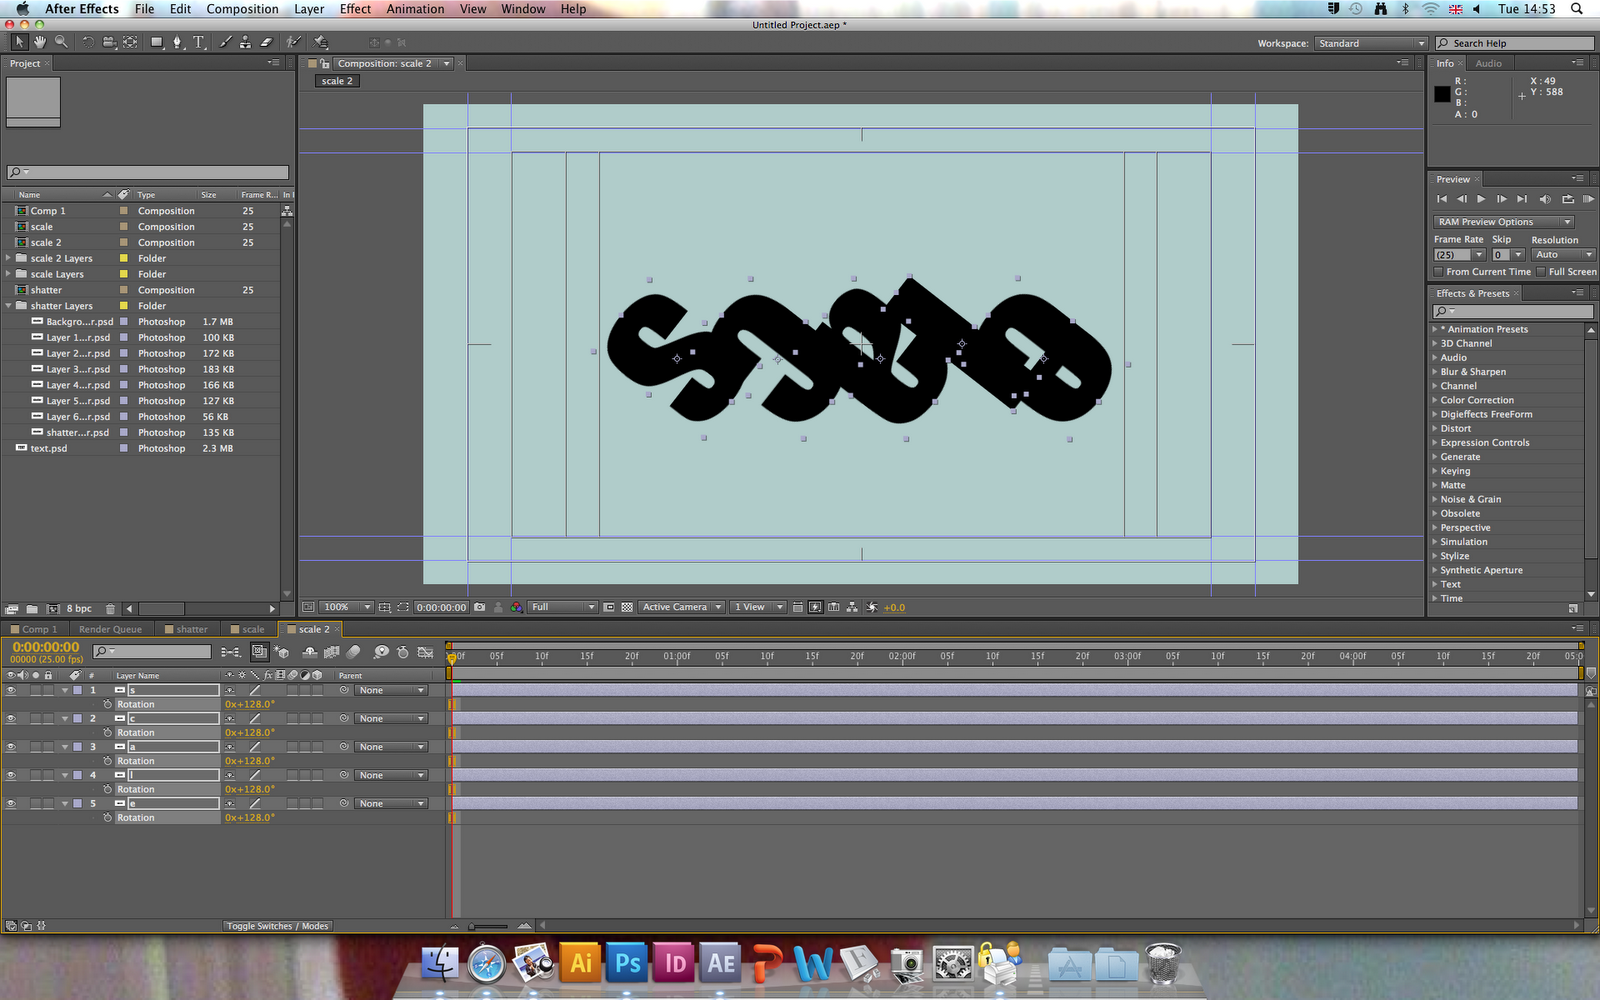
To edit the characteristics of all layers at once, select all layers and press the relevant shortcut to open it up on the timeline. In this case we're looking at position, so highlighting all layers and pressing 'P' allows us to make spacial adjustments to all layers instead of individual alterations. I moved the key frames on some layers to see how speed effected it.


---
DIFFERENT COMPOSITION TYPES
There are two types of composition when importing a file: 'Composition' and 'Composition - Retain Layer Sizes'.
When retaining the layer sizes, the size of the layer is the size of the content of the layer. Each layer is totally separate and each has its own anchor point.


(Composition)


(Composition - Retain All Layers)
---
LAYER BUTTON EXPLANATION
(From Left to Right)
Shy Button: When a layer is finished with, this box can be ticked to temporarily hide it from the layer list to make it easier to navigate.
Continuous Rasterise: AfterEffects will rasterise the image every frame, effectively remaining a vector artwork.
Quality Button: If a layer doesn't need to be high quality to be visible in the preview, selecting this will speed up the RAM preview.
Enable Effects: Enables any effects that have been placed. Mostly used with video.
Frame Blending: Only used with video, not with motion graphics.
Motion Blur: Applies a blur to a moving image, giving it more depth and relating to a real camera. Does add a significant amount of lag to the RAM preview, best to apply when it comes to exporting.
Adjustment Layer: A layer that can contain an adjustment, useful for applying the same adjustment to a number of layers.
3D Layer: Allows the adjustment of the z-axis, which is in and out of the screen.

---
IMPORTING FILES - ILLUSTRATOR
Creating a file for video in Illustrator is exactly the same concept as Photoshop. There is no Pixel Aspect Ratio as the program works with vectors. After the variables are confirmed, the screen is, again, similar to the Photoshop one with the Action Safe Zone and transparent background.
After the file is imported, selecting the 'Continuous Rasterise' button will maintain the quality of the vector, demonstrated below.


---
COLLECTING FILES
Much like InDesign's 'Package' option, File > Collect Files allows every file in the project to be bundled into one folder. This is useful for transferring onto another machine, or to to ensure all files of a finished folder are in one place.


---
No comments:
Post a Comment